04 Apr Setting Up a Raspberry Pi Web Server & Personal Radio Station – Part 1
The Raspberry Pi is a small, affordable computer that’s perfect for DIY projects, from home automation to web servers.
In this guide, I’ll transform my Raspberry Pi 3 Model B+ (you can grab one here) and a microSD card (32GB option) into:
- A Next.js-compatible web server for testing builds before deployment
- A personal internet radio station, streaming music to my phone anywhere
Let’s get started!
Step 1
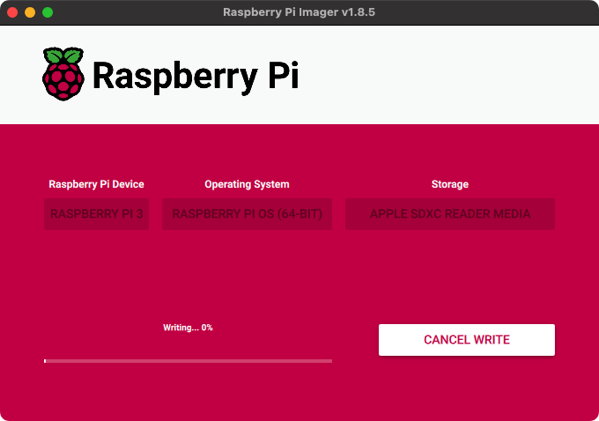
We will format the micro SD card using the Raspberry Pi Imager, in this link: https://www.raspberrypi.com/software/.
I will be selecting the recommended OS. This could vary, depending on your system.
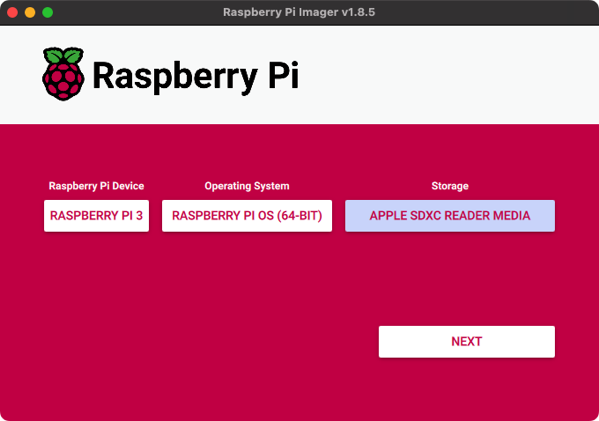
Let’s edit the settings. We will select the name of the machine -sponde-, set username -pi-, and password, configure the Wifi, set the locale settings, and enable SSH as a service, so we can remote into the machine from an SSH client.
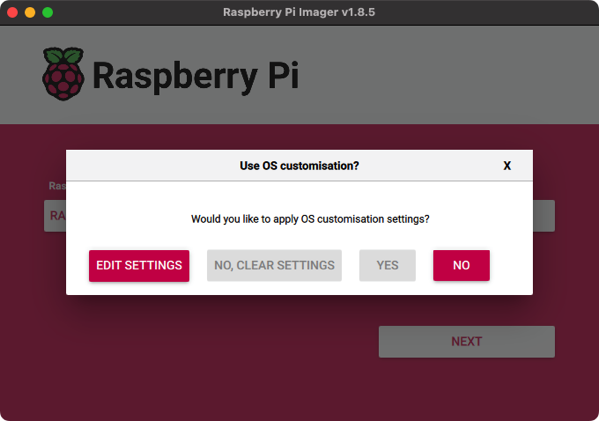
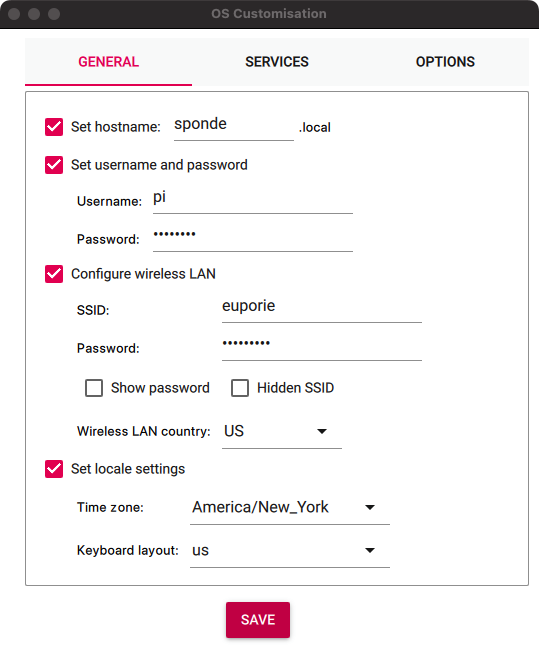
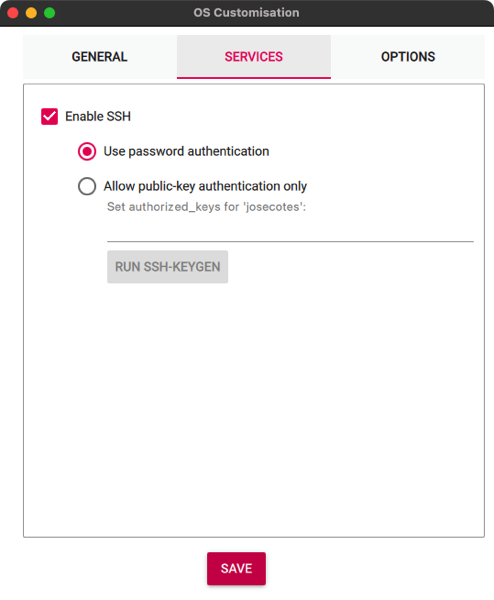
Now, let’s go ahead and format the SD card.
Step 2
Let’s insert the SD card into the Raspberry Pi and connect it to the power. Give it some time to finish the installation and setup.
Step 3
Let’s make sure that the device always uses the same ip address. This might be completely different depending on the router you have. I have an eero, so this is what I will do.
I see that the router gave my Rasperry Pi, sponde, the following ip address: 10.0.4.159
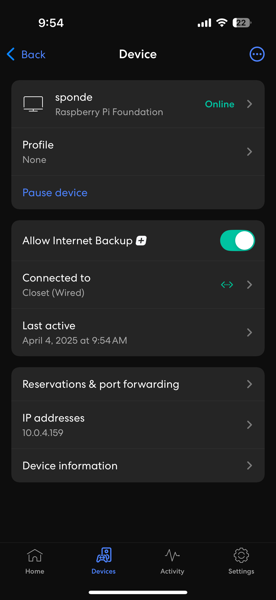
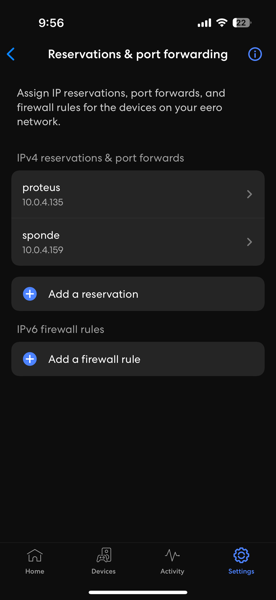
I will click in Reservations & port forwarding and add this so every time this device is on, it will use the same address:
Step 4
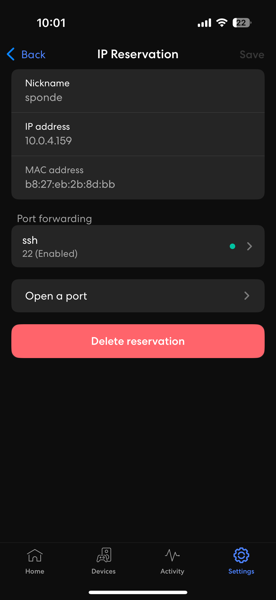
Open port 22 in your router so you can SSH into the Raspberry Pi
Step 5
Using an SSH remote client, log into your Raspberry Pi. I use Termius but any other will work fine.
Step 6
Update your Raspberry Pi to the latest version of the software.
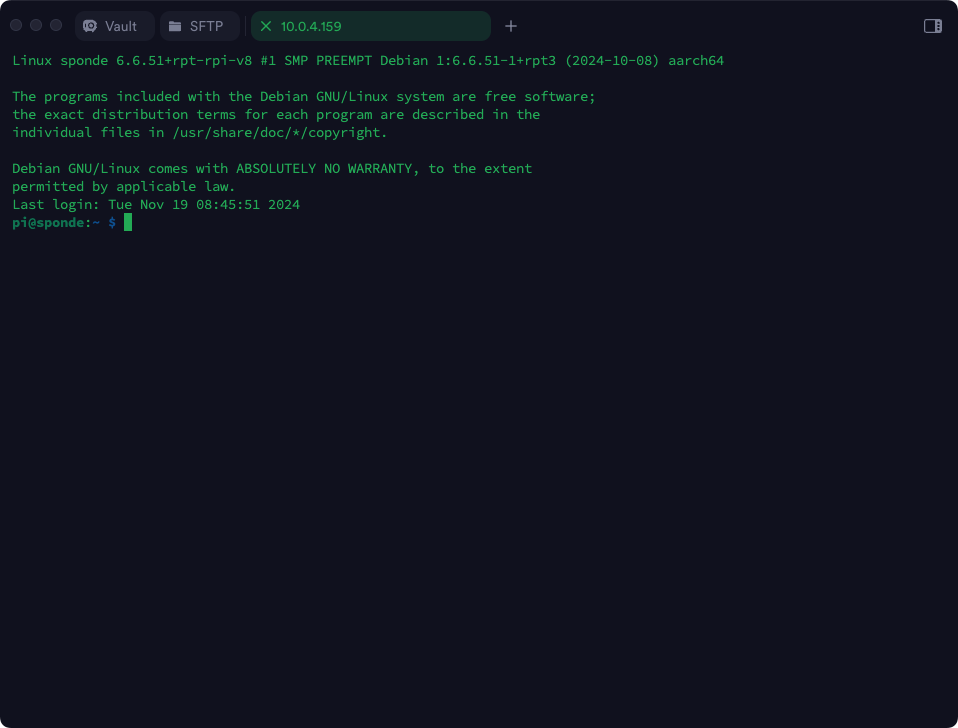
Type in the following:
sudo apt update
sudo apt upgrade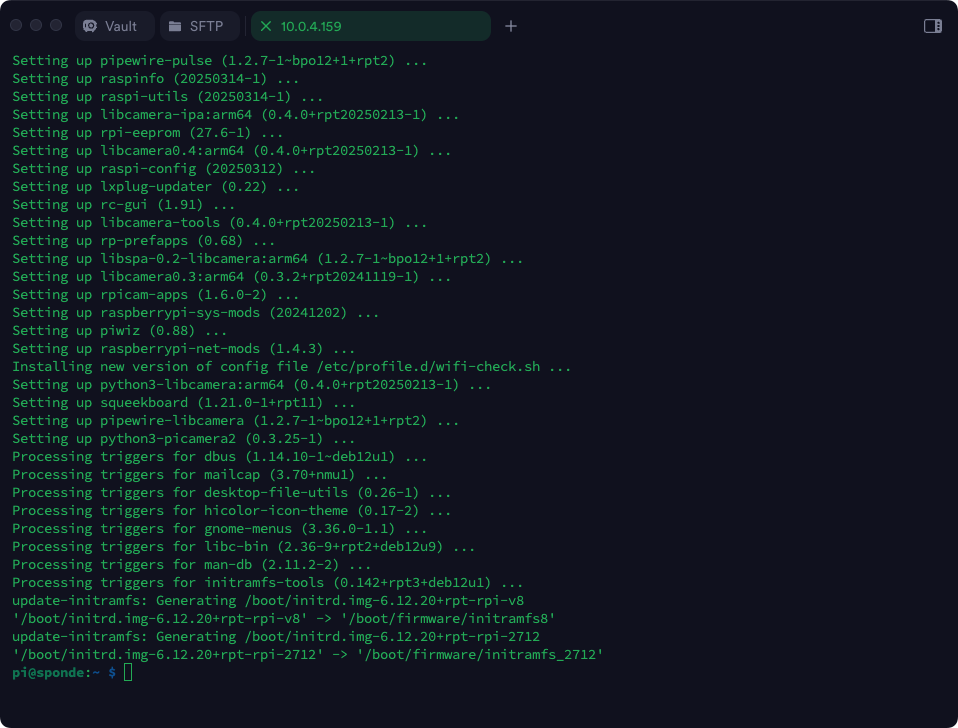


No Comments