05 Apr How to Add a Free SSL Certificate to Your Raspberry Pi with Let’s Encrypt
Want to make your Raspberry Pi web server more secure? Adding an SSL certificate encrypts your connections, protecting your data from prying eyes. The best part? You can do it for free using Let’s Encrypt, a trusted certificate authority that provides easy-to-install SSL certificates.
In this guide, we’ll walk through the steps to secure your Raspberry Pi server with HTTPS, ensuring safe and encrypted communication.
Step 1
Let’s update our Raspberry Pi
sudo apt update
sudo apt upgrade
Step 2
Let’s install the certbot app compatible with Apache. If you have any other web server, you might have to find the correct installation for yours:
sudo apt install python3-certbot-apacheStep 3
In your router configuration, make sure you are forwarding port 443 to your Raspberry Pi. Now, type the following:
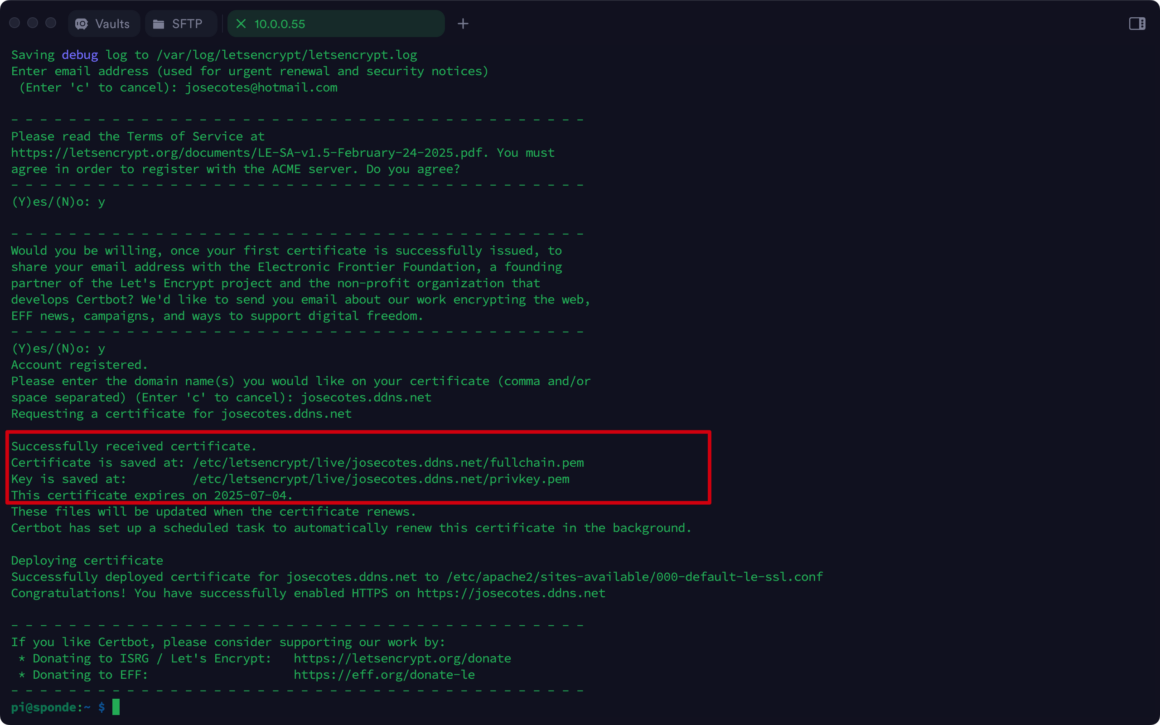
sudo certbot --apacheIt will ask you to add your email, and your domain name. This is the external domain name -hostname- that will be pointing to your Raspberry Pi. You can get a Dynamic hostname here https://www.noip.com?fpr=n3by1.

That’s it. Now you can access your Raspberry Pi using https instead of http.


Pingback:Setting Up a Raspberry Pi Web Server & Personal Radio Station - Part 3 - Jose Cotes
Posted at 12:11h, 05 April[…] make the connection secure. First, you will get an SSL cert using the steps in here. Now, let’s modify our […]
Pingback:Securing Port 3000 on Raspberry Pi: How to Deploy Your Node.js App with HTTPS - Jose Cotes
Posted at 11:31h, 13 April[…] sure you have already completed this guide to obtain an SSL certificate in your Raspberry […]