04 Apr Setting Up a Raspberry Pi Web Server & Personal Radio Station – Part 2
Now that your Raspberry Pi is set up with Raspberry Pi OS and remote access, it’s time to turn it into a Next.js-ready web server!
This is what we will be doing next:
- Install a Web Server Application, in this case Apache, for basic web development
- Install Node.js (the engine behind Next.js)
- Set up Next.js for local development and testing
By the end, your Pi will be ready to host and test your Next.js projects before deployment.
Step 1
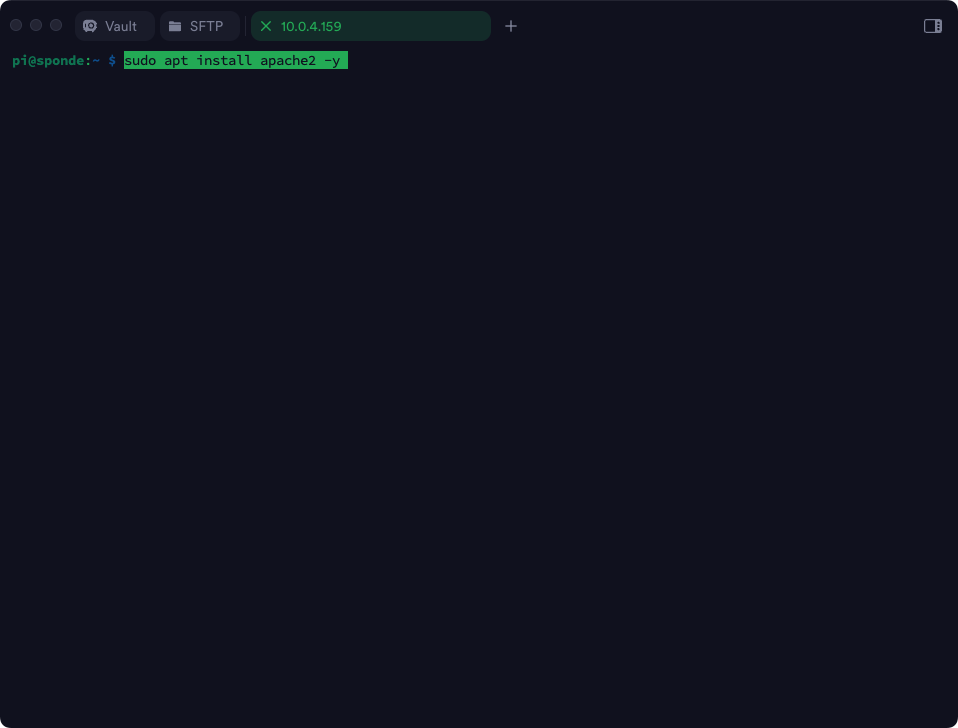
Type the following command:
sudo apt install apache2 -y
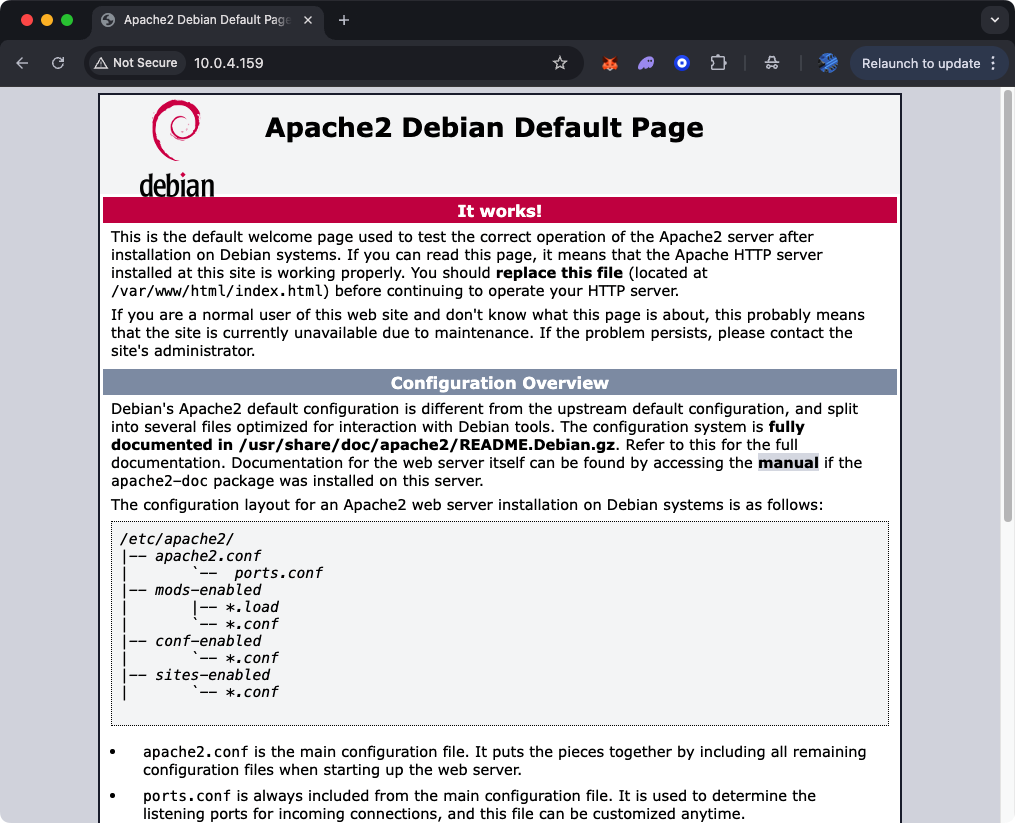
Now you should be able to access your Apache page by opening in your browser the Raspberry Ip address. http://10.0.4.159 (remember that your ip address will be different, per the instructions in Part 1).

Step 2
Now type the following:
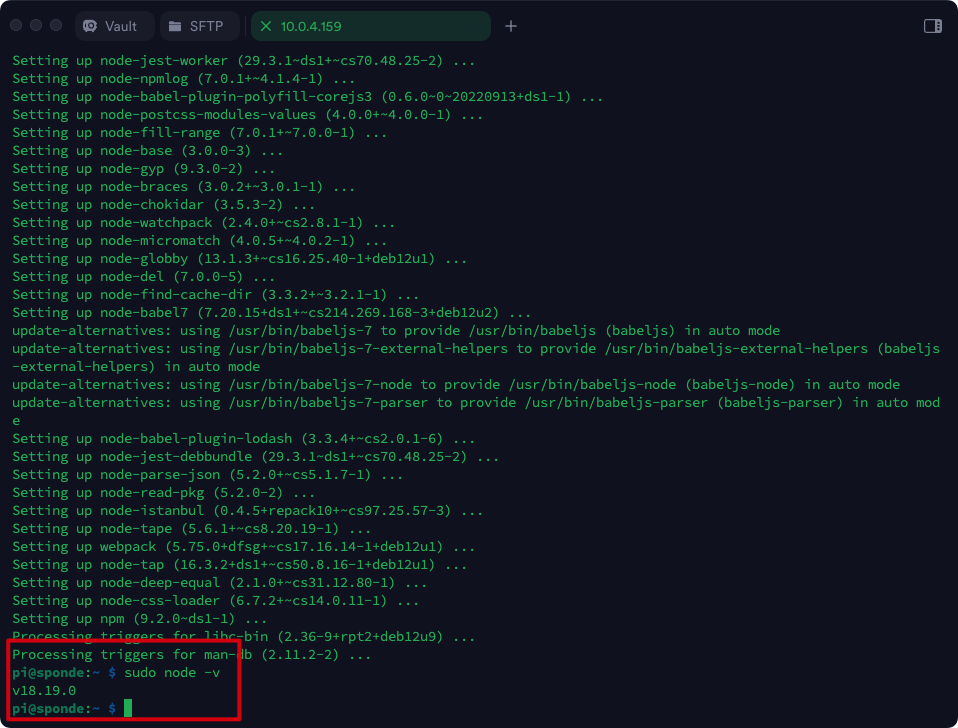
sudo apt-get -y install nodejs npmTo check wich version of Node.js you have, enter the following
sudo node -v
Let’s now create a Next.js app, by typing the following:
npx create-next-app one-nextjs-app
cd one-nextjs-app
Now, let’s run the development server by typing:
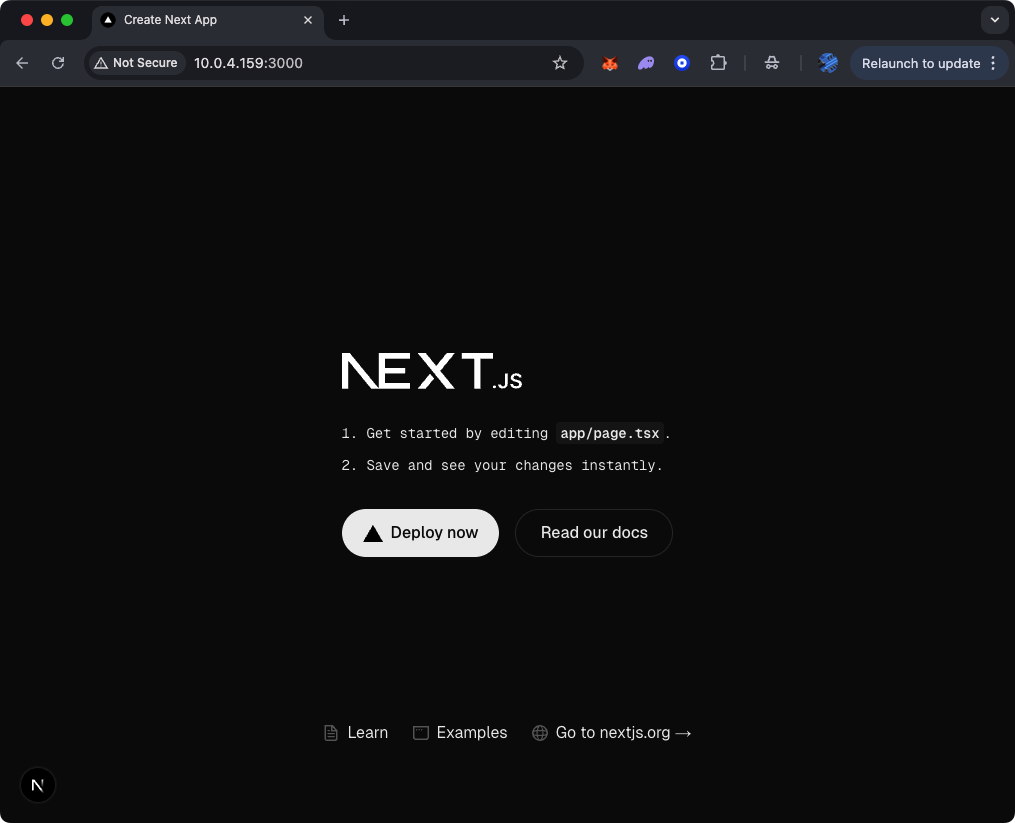
npm run devUsing your browser, open the following link (remember that your ip address will be different, per the instructions in Part 1). http://10.0.4.159:3000

All set!
If you want to build the application for production, type the following command:
npm run buildIf you want to start the production server, type the following command:
npm start

Pingback:Setting Up a Raspberry Pi Web Server & Personal Radio Station - Part 1 - Jose Cotes
Posted at 13:35h, 04 April[…] Go to Part 2 of this guide. […]